

Are you a professional photographer and still looking for the perfect studio that you deserve? Well, you may refer this company that deals with various types of bulbs and lighting system. There are various directions and strategy of dealing with lights and getting a perfect photo done as per your requirement. The plan of your purchase would depend largely on the purpose you would want to achieve. The requirements of photography is quite different than that of decorative purpose. The decoration of home would vary a lot compared to that of office. Anyways, commercial decoration is a different task altogether.
- Split lighting: The subject’s face has to be divided into equal halves between the light and shade. You can place a light focusing your subject and then draw a line that can actually be at 90 degrees with your subject. The best would be to edit the photo in black and white.
- Butterfly lighting:This technique would create a butterfly like image just beneath the nose of the subject. The light source is generally behind and above the camera while you use this tip. This could be better applied when the subject has a rounder face. When the light is focused it would bear a slimmer look on the face.
- Loop lighting:This is one of the most popular type of lighting and the loop is created just under the nose of the subject. The source of the light is kept at 30 to 45 degrees above the eye level and in order to get that particular type of shade.A single or two lights are also good for the purpose.
- Rembrandt lighting:By this technique there is a formation of a triangle just beyond the cheek of the object and this is named after the painter. A triangle of shadow is formed in this case but it should not go beyond the nose. The source of light should be kept before the head of the subject and this should ideally be a single source.
- Short lighting: By this technique the face of the subject is generally made slimmer to look. The side directed also allows more of 3D technology.Most of the subjects face should be in shadows and light should be directed from multiple directions.
- Broad lighting:Most of the subject’s face is lighted but a smaller part is left in shadows. Most of the cases, the subjects small face is easily highlighted. If the subject’s face is thin, then this technique would give a considerable shape to the face of the subject.
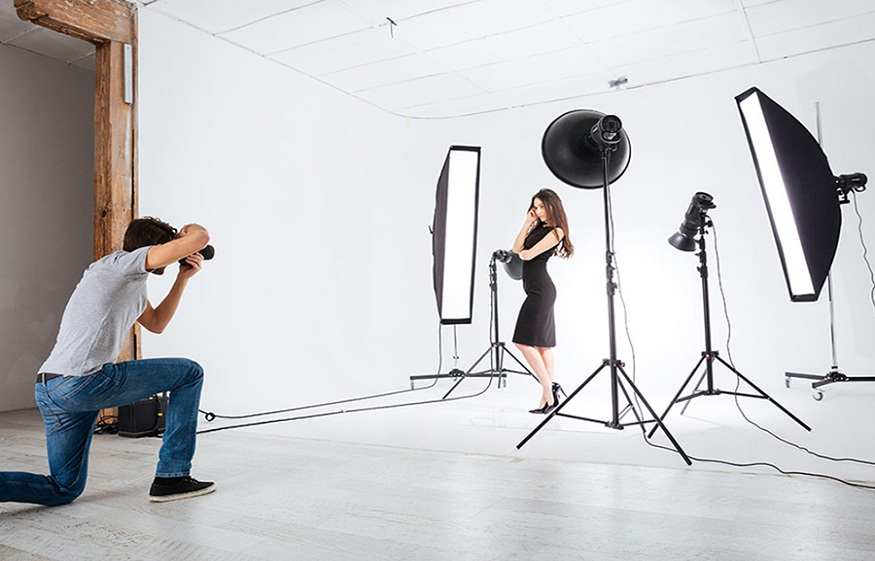
The plan of buying light system depends a lot on your purpose. Say, if you are using for studying or other creative job, then there has to be a single light with good intensity. In case you are using multiple lights then there can be more creativity in the subject.
The purchase of lights would be much more effective once you have gone through the reviews of the products and know in details the intricate details.